How to Check an Alternator
Dec 12th 2017
How to Check an Alternator
This test is a simple way to determine the condition of your; alternator and battery. Some newer vehicles may have computer controlled charging systems, and may need additional testing. Before you test your alternator, it may be helpful for you to check your battery. Make sure the battery is charged properly, and clean the battery terminals if there is any corrosion. Also make sure that the battery cables are tightened properly. Lastly locate your alternator, and check to see if the belt is loose or damaged. If the alternator belt is worn out, then the alternator will not spin properly. Watch the full How To video below.
WARNINGS:
- Sometimes it is recommended that you test the alternator by starting the car after loosening the negative battery cable, and waiting to see if the engine shuts off. DO NOT attempt this method. It can fry the voltage regulator, alternator, or other electrical components.
- Keep hands, loose clothing, long hair, and jewelry away from moving parts when checking under the hood with the engine is running.
What You Will Need
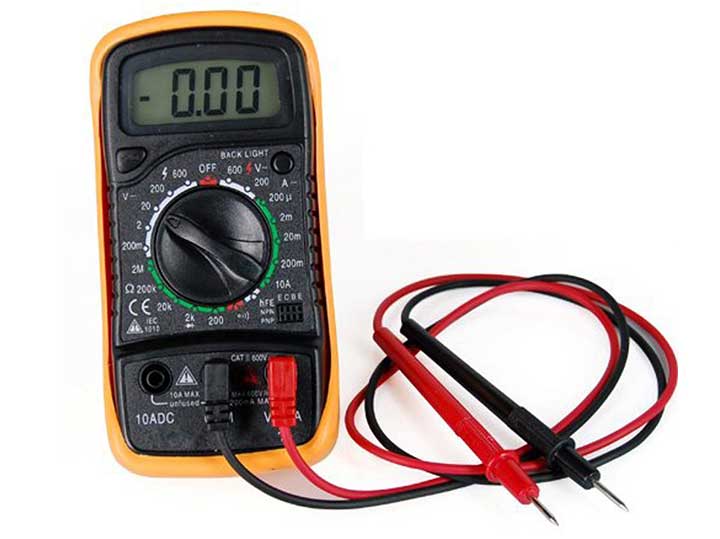
- Voltmeter or multimeter (A multimeter measures voltage as well as current and resistance. You only need to measure voltage for the purpose of checking your alternator.)
Step One: First thing you need to do is check your battery. If the battery is faulty or weak, you will be unable to check your alternator. You can check the battery using your voltmeter.

- First, make sure the engine is turned off.
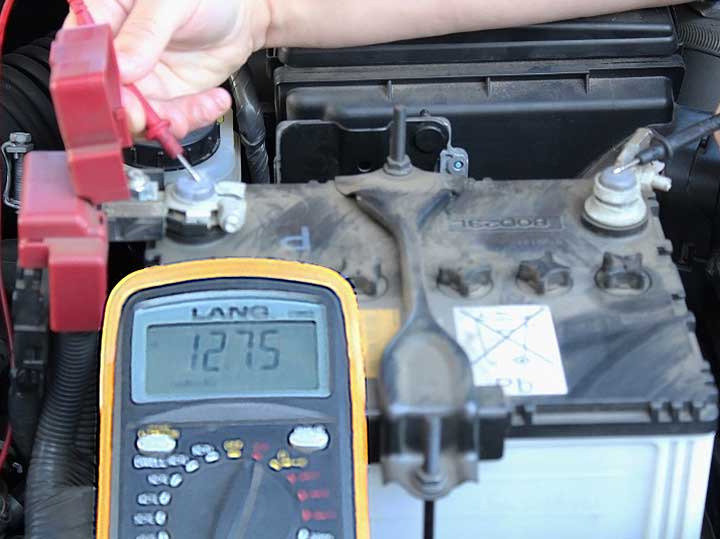
- Second, connect the voltmeter to the battery by placing the RED lead of voltmeter to the positive terminal on the battery. Place the BLACK lead to the negative battery terminal.
- Avoid touching the battery while you are connecting the voltmeter to the battery.
- If the voltmeter reads above 12.5 volts, then the battery has enough power to start the alternator.
- If the battery doesn’t have enough voltage, then you can charge the battery and re-test it.
| Battery Condition | |
| 12.6 Volts | 100% |
| 12.4 Volts | 75% |
| 12.2 Volts | 50% |
| 12.0 Volts | 25% |
| 11.8 Volts | 0% |
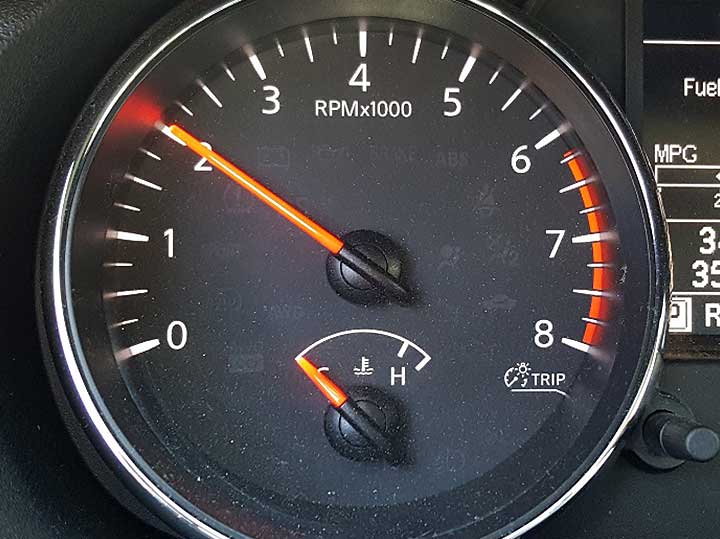
Step Two: Start the vehicle and rev the engine to 2,000 rpms. This should cause your voltage regulator to kick the alternator into high gear.

Step Three: Keep the engine running and re-test the battery with the voltmeter. The reading on the voltmeter. The reading on the voltmeter should go up to at least 13 volts. Varying RPMs will cause the voltage to fluctuate between 13-14.5 volts, if this happens, then your alternator is good. If the voltage remains the same or decreases, then your alternator is not working properly. If the reading is excessively high, greater than 15 volts, then it’s possible that your voltage regulator is faulty.
- Repeat the test with the lights, radio, and ac on. If the voltage stays above 13 volts with the engine at 2,000 rpm, then the alternator is recharging the battery.
- If you have a volt/amp gauge, then it will read the alternator output for you. Run the engine at 2,000 rpms and turn on the ac, radio, and lights. As you turn on the electrical accessories, you will see your voltage decrease. If the voltage is higher when the engine is running than when the engine is off, then you can assume that the alternator is charging the battery.
Understanding the Results
If the voltage of your battery increases while the car is running, then you know that your alternator is charging the battery. If the alternator was not working properly, then you would see the voltage remain the same or decrease as you are conducting the test. If it seems that the alternator is the issue, then here is a list of reasons why your alternator could be failing. All of these areas should be checked before you install a new alternator on your vehicle in order to prevent the new alternator from failing as well.
- 67% of alternator issues are due to a weak or faulty battery. (Always check that the battery is working properly before replacing the alternator.)
- 14% of all alternator failures are due to poor electrical connections, fusible links, bad battery cables, or bad grounds.
- 9% of alternator failures are due to belt wear or improper adjustment (Be sure to check for belt wear such as cracks, tears, and slick or polished areas along the belt. Also check that the belt is at the proper tension and not loose.)
- 6% of alternator failures are caused by jump starting other vehicles improperly. (Failing to disconnect the connection on the alternator could cause voltage spikes.)
Even if the results from the test point to the alternator being bad, the problem could still be something else. You can always take the alternator to an automotive shop and have it tested if you are unsure whether or not the alternator is the issue.


